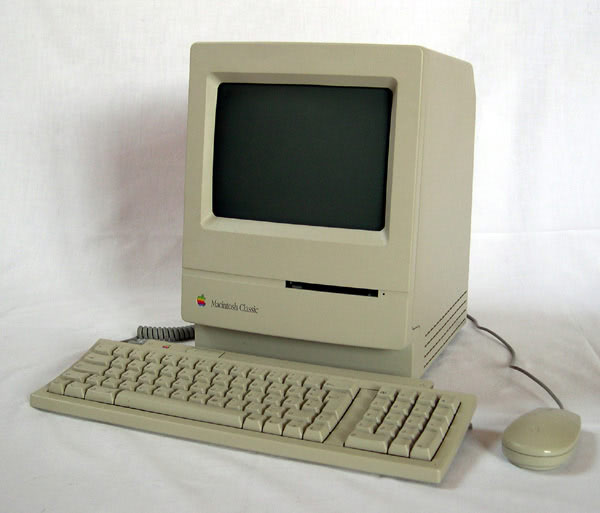
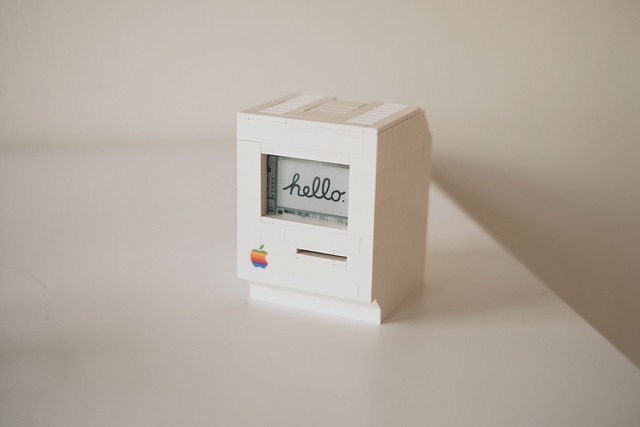
LEGO Macintosh Classic with e‑paper display
Raspberry Pi LEGO docker resin.io*tl;dr: I built a Wi-Fi enabled LEGO Macintosh Classic running Docker on a Raspberry Pi Zero with an e‑paper display. Docker deployments via resin.io. photos
Table of contents
- But why?
- Fitting prototype
- Making a plan with LEGO Designer
- Ordering the bricks
- Connecting an e-paper display to the Raspberry Pi Zero
- Running docker on the Pi and deploying via resin.io
- Putting it all together
- Pictures or didn’t happen
But Why?
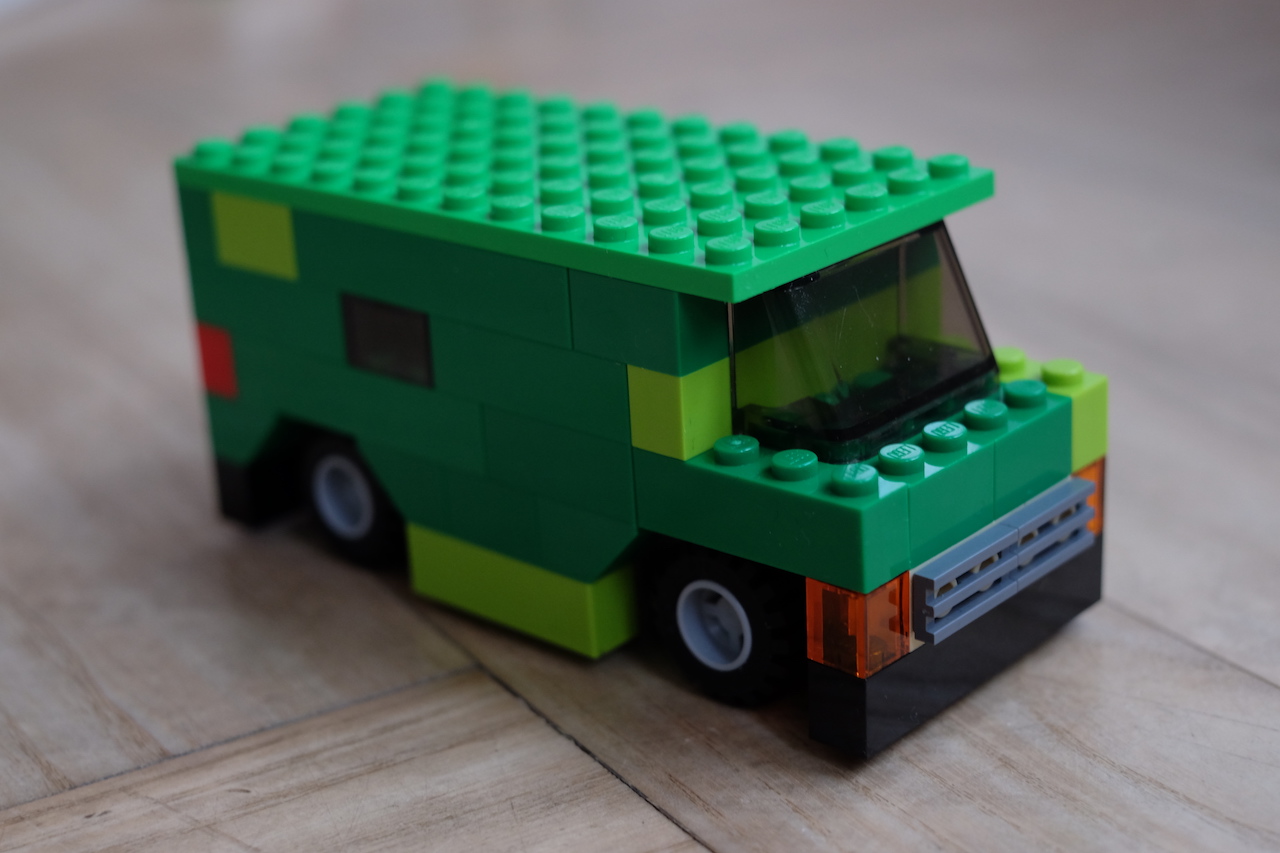
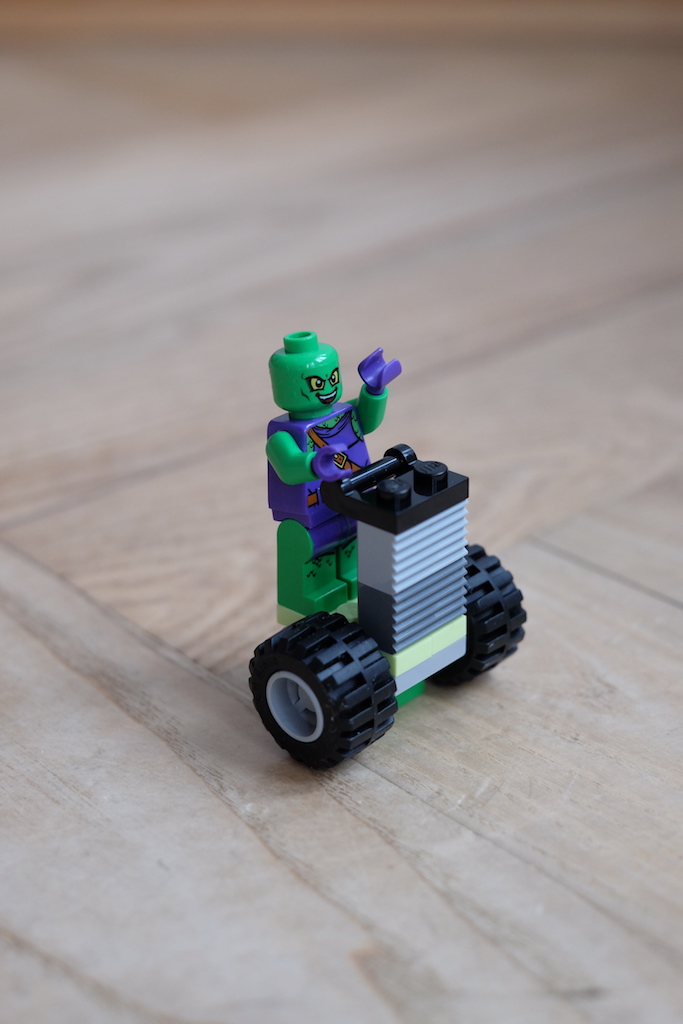
While my son and I were playing with LEGO, after building a 1987 GMC Vandura and an off-road Segway I suddenly had the urge to build one of the first computers I remember using: a 1990 Macintosh Classic
I am not a 100% sure if it was this exact model or perhaps even the Macintosh 128K from 1988, but I guess it doesn’t really matter. All I did with that computer was play Shufflepuck Café. If you, too, are one of the elderly, be warned that the following video and audio will give you the feels:
But anyways, this blog post isn’t about Shufflepuck Nostalgia, it’s about taking things too far while playing LEGO with your kid.
Fitting prototype
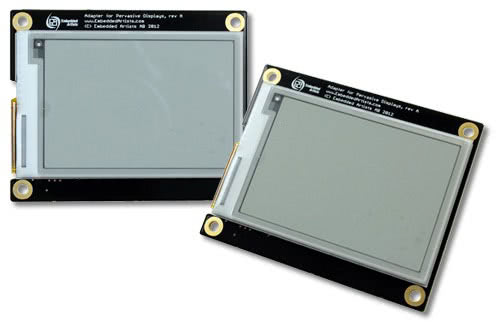
I went ahead and ordered a 2.7" e-paper display from Embedded Artists. It arrived after a couple of days and I immediately started building a little fitting prototype in LEGO to see what dimensions the Macintosh would have in order to fit that display. Let me tell you one thing… it didn’t look good:
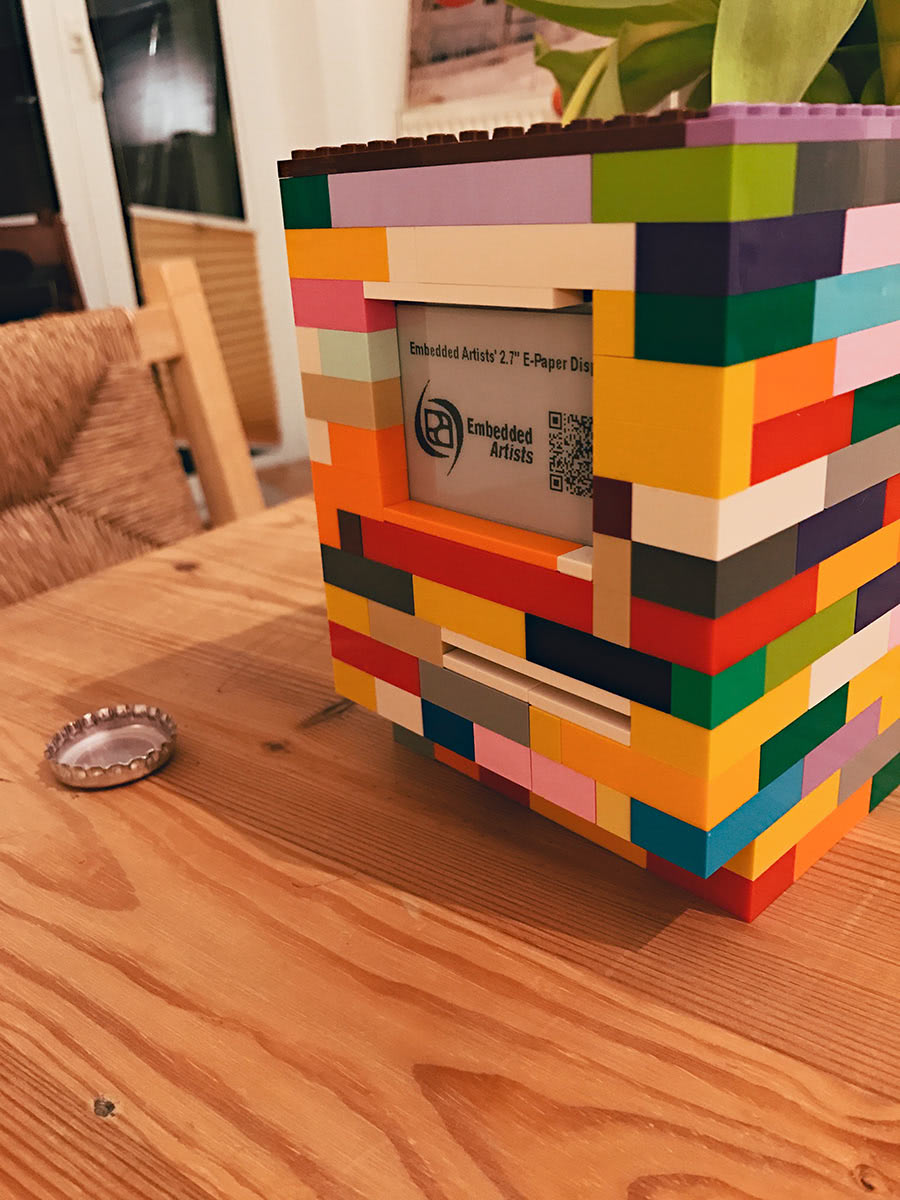
But it looked so good in my mind! Well, the colored bricks don’t help - they should be in a uniform grey. So I looked for an alternative way to prototype LEGO and found:
Lego Digital Designer
You can download LEGO Digital Designer (LDD for short) for free from ldd.lego.com. It’s a very basic 3D LEGO editor that does the job. So I took the measurements from the catastrophy that is the colored prototype above and rebuilt it on the computer:
It looks slightly better in grey, but one thing became apparent: With a screen this small, the border left and right of the screen can’t be 3 LEGO blocks wide. That’s just too much compared to the size of the display. The problem is: the display’s board is quite a big bigger than the display itself:
The overlap on the right side of the display is quite small, but on the left side more than 10mm of board needs to be hidden inside the case of the LEGO Macintosh. I could only think of one solution: Get ahold of a Dremel and cut into the LEGO to make it fit with a border of only 2 bricks. Should be simple enough.
So I fired up LDD again and made a couple of variations of different sizes, but all with a display frame of exactly two bricks:
Ordering the bricks
Unfortunately, you can’t order pieces right out of LDD. But it lets you print a list of pieces which, I thought, is good enough. When trying to order them one by one I realized that not all bricks that you can use in the LDD are actually available in all colors online. Since this project was a birthday gift for a buddy of mine, I didn’t have the time to do more research and ordered the blocks in white right off lego.com.
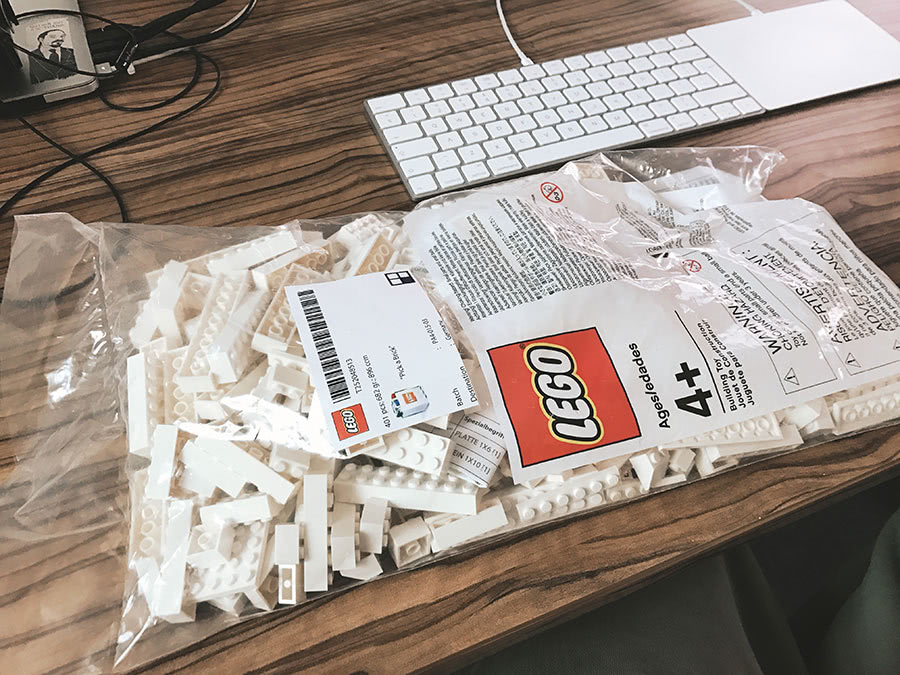
Shipping took around a week, here’s the exact parts needed for two Macintoshs (yes, knolling, I know, but you can’t have kids AND knoll - it’s one or the other):
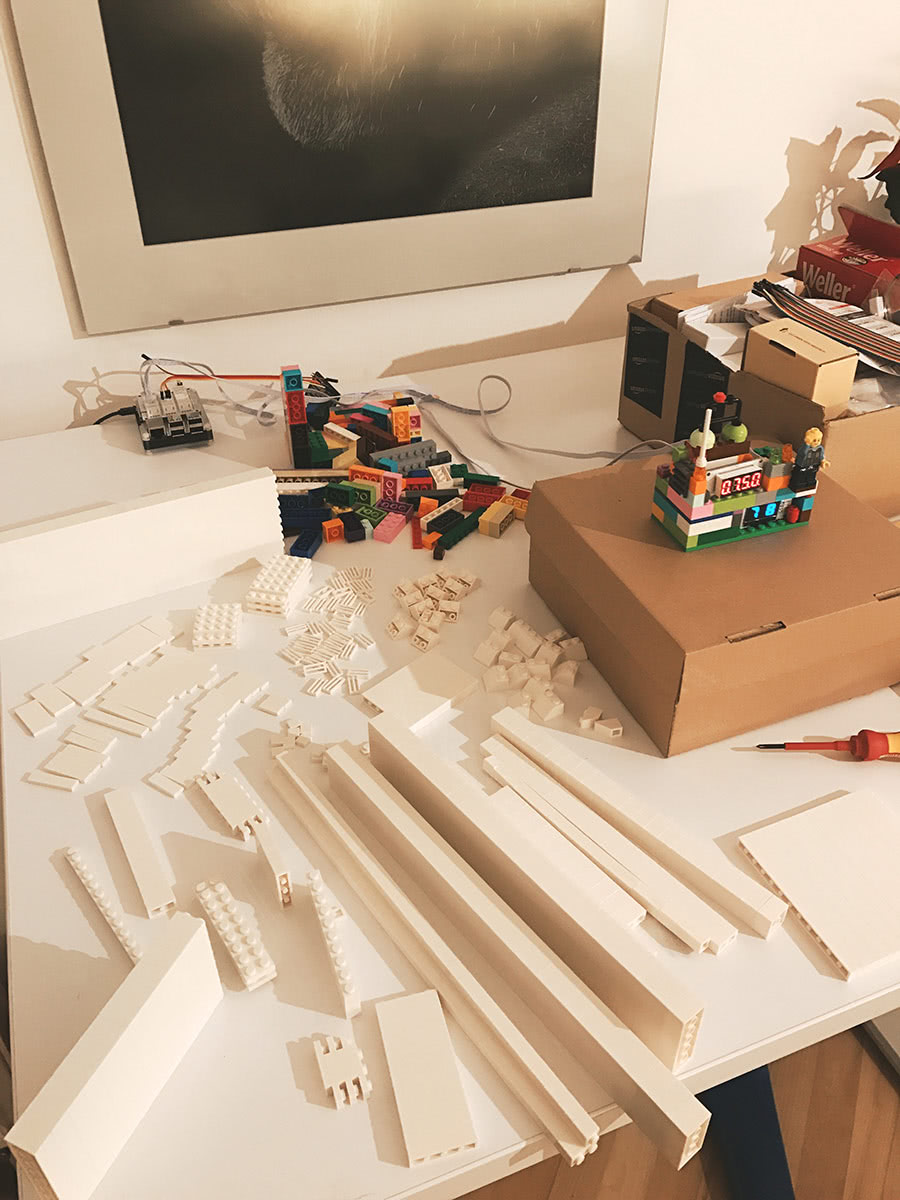
Or so I thought! Being a programmer, of course I created a model that was off by one: exactly one brick too wide. 🙄
No problem, though, LEGO is all about freestyling and so I did. Here’s the top view of the case with the slot for the display clearly visible:
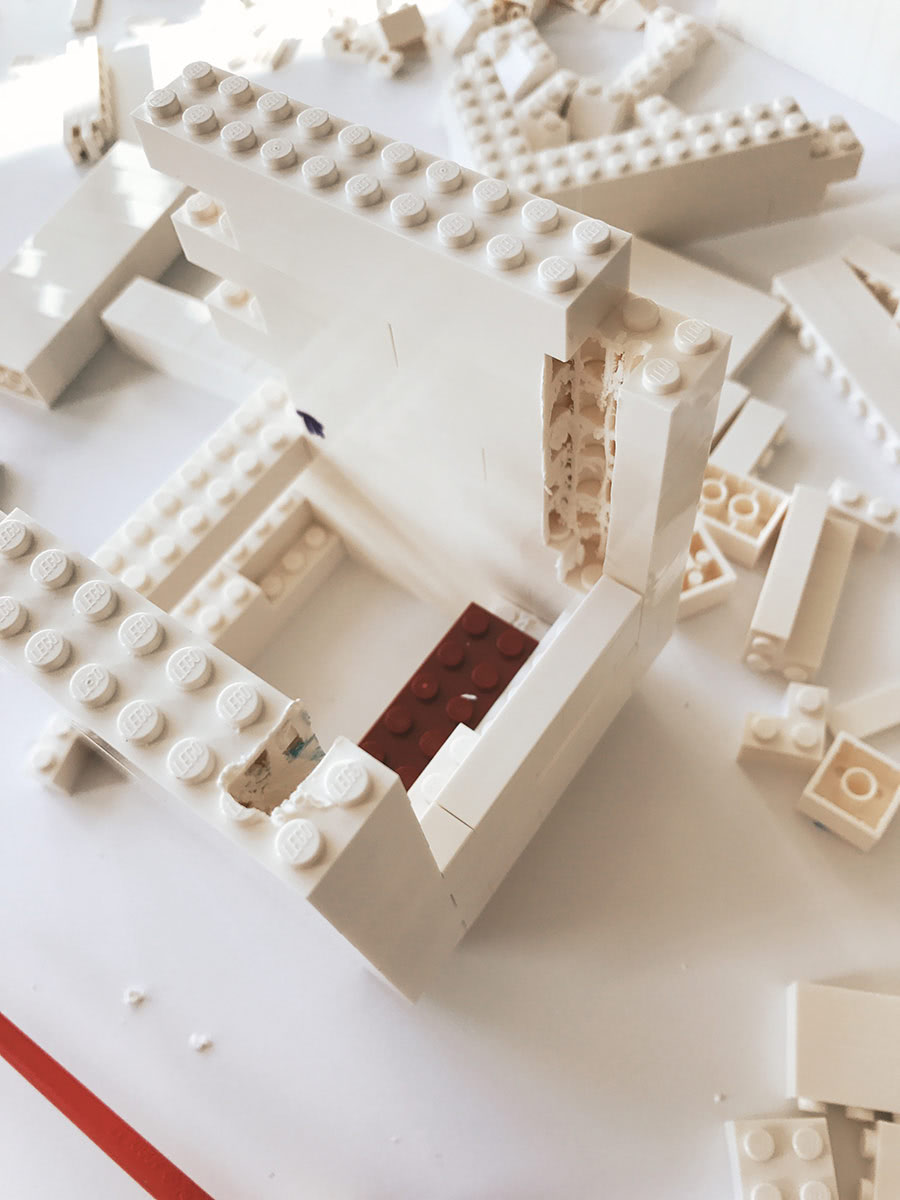
Note how on the left side there’s almost no plastic left. Putting the rest together was straight forward. Now all I had to do was connect the e-paper display to the Raspberry Pi Zero and off weeeeee go!
e-paper display on the Raspberry Pi Zero
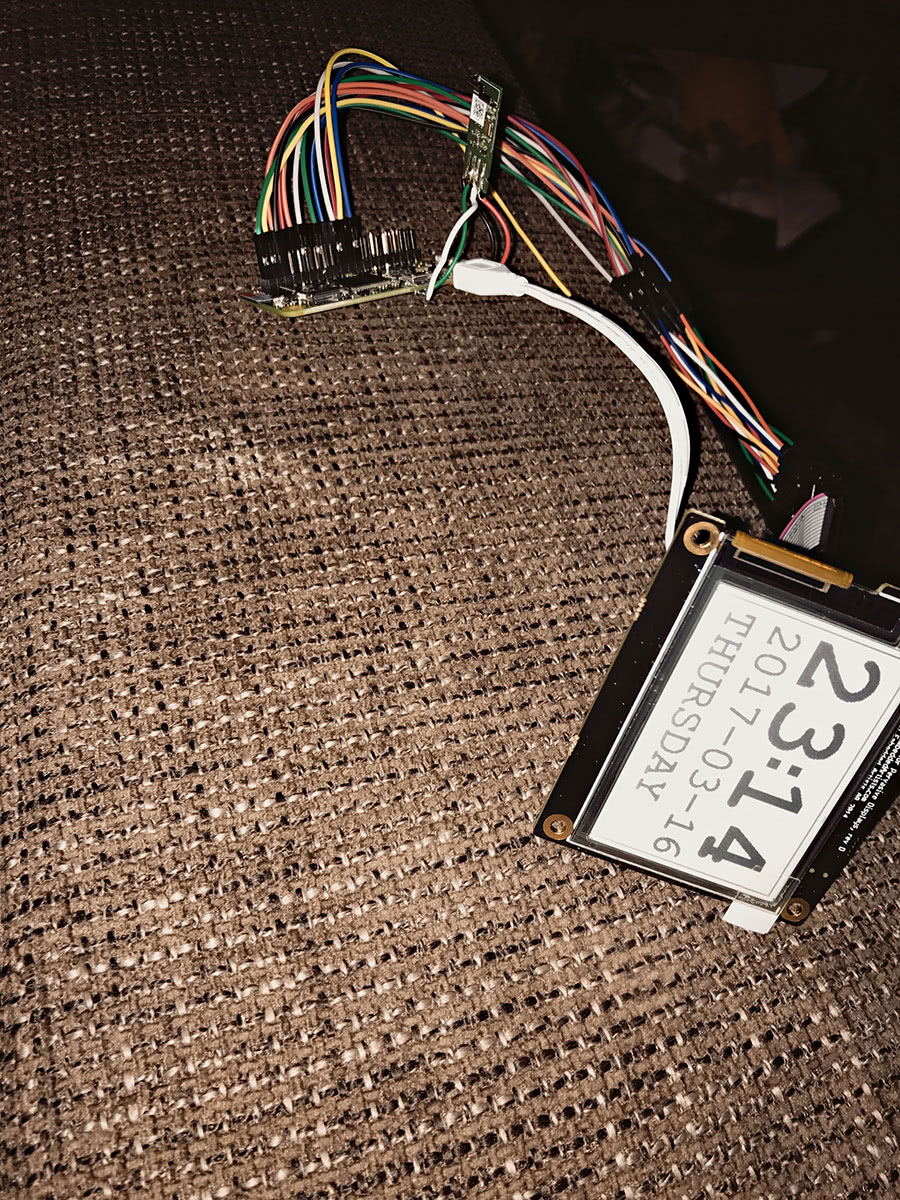
For a hardware dilettante extraordinaire like me, connecting the e-paper display to the Raspberry Pi Zero was a little tricky. The reason was space. Normally, you can just connect the display to your Raspberry Pi with the ribbon cable. That doesn’t work in this case (see what I did there?), though, so I had to figure out which pin of their 14 pin serial expansion connector goes to which GPIO pin of the Raspberry Pi.
The following diagram is from a schematic supplied by Embedded Artists:

From this diagram I created the following mapping (Raspberry Pi GPIO pins left, 14 pin serial expansion connector pins right):

I am guessing that only the VCC/GND and SPI pins need to be connected, but I don’t know for sure - I connected all of them. If one of you knows enough to validate this, perhaps we should submit it to the fantastic pinout.xyz!
Here’s a photo from the first time I managed to make the display display something:
Wi-Fi soldered onto the Raspberry Pi Zero
If you closely look at the photo above, you see a little erect thing connected to the Raspberry Pi Zero in the background. That little thing is the inside of the Raspberry Pi WiFi USB dongle. Of course, right after I purchased the Zero, a version with Wi-Fi onboard was released: the Raspberry Pi Zero W. Anyways, I followed this beautiful tutorial.
Unless you want to solder, I would recommend just buying the Raspberry Pi Zero W. It takes up less room and comes with bluetooth, too!
Docker & resin.io
Remember I said this little project is a trojan horse birthday present? That’s right! It’s going to be deployed in the field, at my friend’s place, far away from me without the possibility of physical access. So how would I go about updating the code that puts useful information on the little Mac’s screen?
While playing with Docker on the Raspberry Pi, I came across the great ARM docker base images from the folks over at resin.io. After checking out their service I realized they do just what I was looking for: they’re like a Docker Cloud for the IoT.
All I have to do now is a git push to a resin.io repo, they’ll build the Docker image for me and deploy it on the Pi. Setting it up was ridiculously easy:
- Sign up at resin.io
- Download an
.imgthat comes preconfigured with my WiFi credentials - Burn it to the SD card with their open source app Etcher (I love how we still say burning)
- Put the SD card into the Raspberry Pi
- Done 🤠
If you have a Raspberry Pi and the e-paper display by Embedded Artists, you can use my docker base image. Just put this in your Dockerfile:
FROM jannis/epaper-docker
and then git push resin master and you’ll deploy your code to your devices like this:
I can only encourage you to use docker for your Pi projects, as there’s nothing as fine as having all the configuration and setup done and preserved forever in a docker image. Instead of having to read all the READMEs of the LEDs, displays and sensors you’re using all over again if you want to setup a new Raspberry Pi what do you do? You docker pull ❤️
Putting it all together
Want to build your own? Please enjoy these affiliation-code-free links:
- LEGO Digital Designer (free)
- LEGO bricks (pick a brick) (~$30)
- e-paper display by Embedded Artists (~$35)
- Raspberry Pi Zero W (~$14)
- Power supply (~$15)
- Tiny retro Macintosh stickers (~$8)
If you’ve been fiddling with hardware, that is probably enough - if you’re starting from scratch, like I did, you will also need:
Pictures or didn’t happen
There’s a flickr album with more photos of the finished product and the making of.
If you want more, check out these other cool Macintosh Classic projects:
- LEGO Macintosh Classic iPad dock
- Macintosh Classic case with an 8" tft screen by Johan Kanflo
- Slide your iPad into an old Macintosh classic case
- Raspberry Pi + Macintosh Classic = NES Mac
- Incredible collection of custom LEGO projects by Chris McVeigh
Thanks for reading! Have comments? Questions? Know more cool Macintosh projects I should list here?
👉 Talk to the @jannis 👈
P.S.
If you would like to be informed about updates to this projects (I will post the LDD files so you can play around with this model in LEGO Digital Designer), just follow me on twitter and you’ll be the first to know: https://twitter.com/jannis